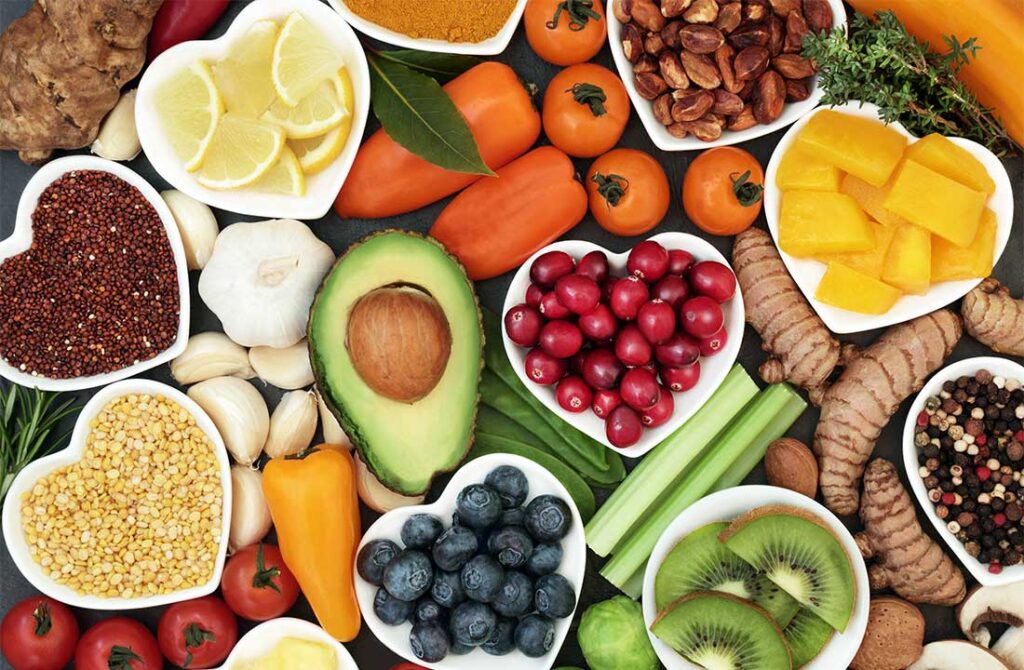
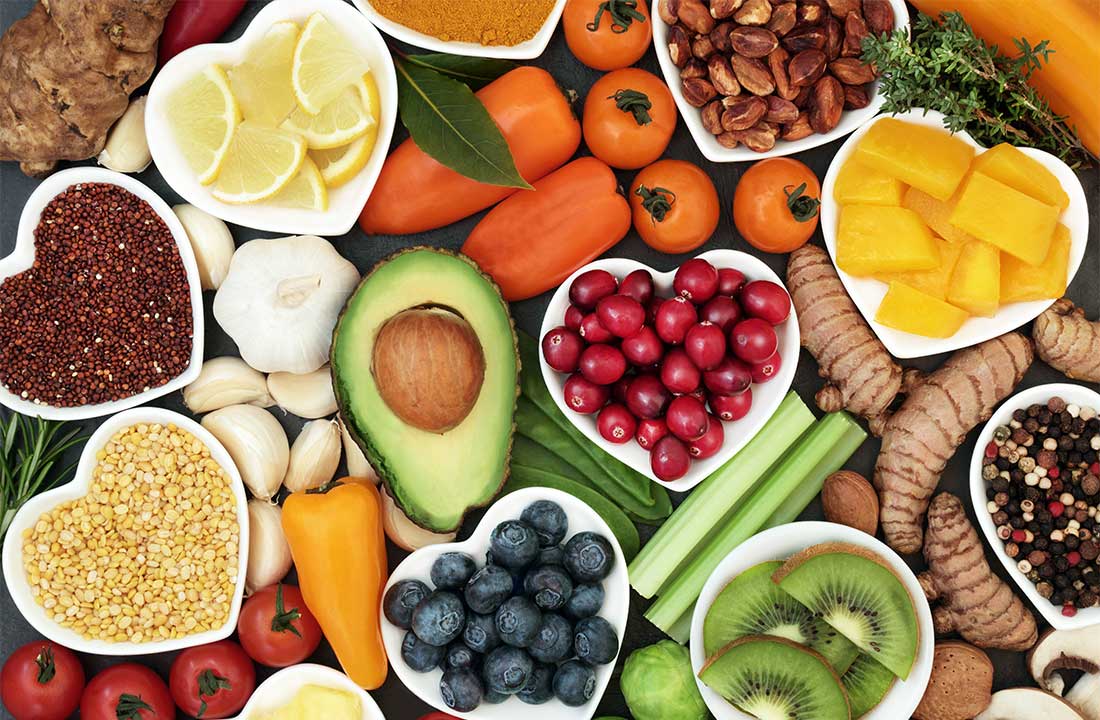
Food photography has become all the rage in recent years, thanks to social media platforms like Instagram where people love to drool over captivating food images. Whether you are a food blogger, a restaurant owner, or simply an enthusiast who loves to show off your culinary creations, mastering the art of food photography is essential to showcase your dishes in the best possible way.
One crucial aspect of food photography that can make or break your shots is lighting. The right lighting can elevate your images from ordinary to extraordinary, making your food look even more enticing and appetizing. In this article, we will guide you through some tips and tricks on how to leverage lighting to enhance your food photography and make your dishes shine.
1. Natural Light is Your Best Friend:
When it comes to food photography, natural light reigns supreme. The soft, diffused light from a window or a skylight is ideal for capturing the colors, textures, and details of your dishes. Avoid using harsh, direct sunlight as it can create unflattering shadows and wash out the colors. Choose a location in your home or restaurant with ample natural light and experiment with different angles to find the perfect lighting setup.
2. Create a Light setup:
If natural light is not available or you need to shoot in low-light conditions, don’t worry! You can create your own light setup using artificial lights. Invest in a good quality lightbox or softbox that can diffuse the light and mimic the effect of natural light. Position the light source at a slight angle to the dish, whether it’s a tabletop lamp, a continuous light, or a flash. Avoid using the built-in flash on your camera as it can create harsh shadows and flatten the overall look of your images.
3. Experiment with Different Angles:
Experimenting with different angles can significantly change the look and feel of your food photography. While shooting from the overhead perspective (popularly known as the “top-down” angle) is a go-to for many food photographers, don’t be afraid to try out other angles as well. Side angles, 45-degree angles, and even close-up shots can add depth and visual interest to your photographs. Play around with the angle until you find the one that best highlights the key elements of your dish.
4. Use Reflectors and Diffusers:
Reflectors and diffusers are handy tools that can help you manipulate light and control shadows in your food photography. Reflectors bounce light back onto your subject, reducing harsh shadows and creating a more balanced lighting setup. These can be as simple as white foam boards or professional reflector discs. On the other hand, diffusers soften the light and help eliminate glare or harsh highlights. You can use translucent fabrics such as white sheer curtains or professional diffuser panels to achieve this effect.
5. Consider Using Props:
Using props can enhance the visual storytelling aspect of your food photography. Look for props that complement your dishes and add interest to the composition. Simple utensils, cutting boards, fresh herbs, or even colourful napkins can elevate the overall look of your images. While props are great for adding context and creating a narrative, make sure they don’t distract from the main focus, which is the food itself.

6. Edit Your Photos:
Post-processing your food images can take them to the next level. While good lighting is crucial, a bit of editing can help enhance the colors, remove distractions, and make your dishes pop. Use editing software like Adobe Lightroom, Snapseed, or VSCO to tweak the exposure, contrast, saturation, and sharpness of your photos. Be mindful not to go overboard with the editing, as it can make your images look unnatural and unappetizing.
7. Consider Stock Photography:
If you are a food photographer looking to monetize your work, consider venturing into the world of stock photography. Stock photography involves capturing high-quality images that can be licensed and sold to businesses, publications, or individuals for various purposes. By following the tips mentioned above and continuously improving your food photography skills, you can create a collection of visually appealing images that can be an asset in your quest to sell food stock photos.
Mastering food photography doesn’t happen overnight. It takes practice, patience, and a keen eye for detail. However, by understanding and utilizing lighting techniques, you can greatly enhance your food photography skills and capture mouthwatering images that will leave your audience craving for more. So, grab your camera, experiment with different lighting setups, and watch your food images come to life. Happy shooting!


