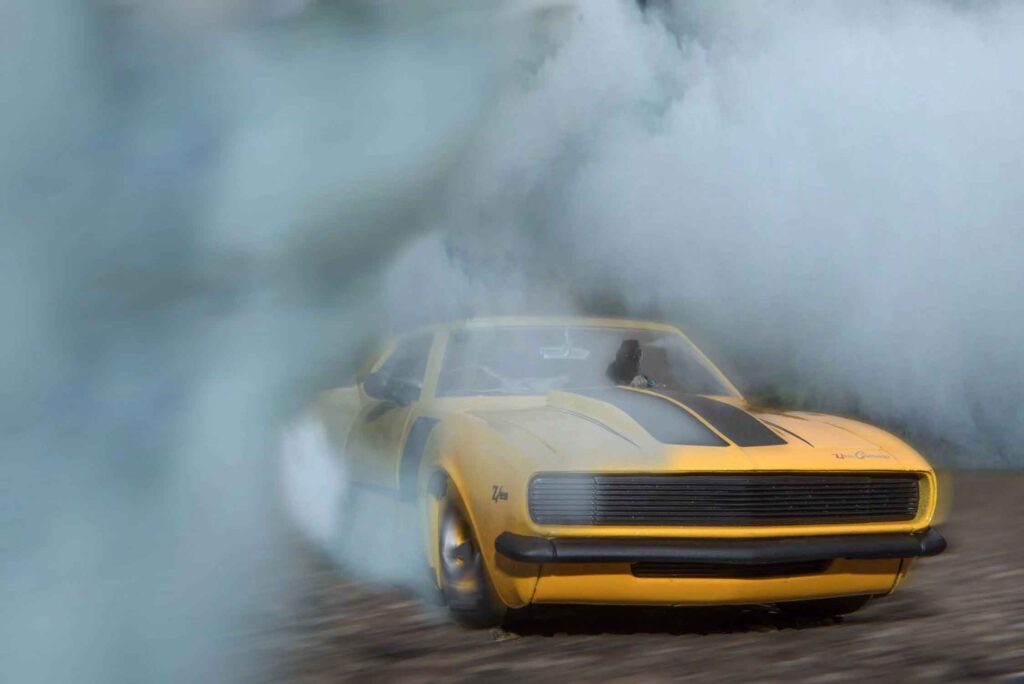
You must be thinking about how the photos will look good when taken outside, even with the smoky haze.
Smoke PNG is used in photos for various reasons. Some of the common reasons are:
- To create a dramatic or mysterious effect: Adding smoke PNG to a photo can create a dramatic or mysterious effect. Making it more visually appealing and interesting.
- To highlight a subject: Smoke PNG can be used to highlight a subject in a photo by creating a contrast between the subject and the smoke.
- To add depth and texture: Smoke PNG can add depth and texture to a photo, making it more visually engaging.
- To cover up unwanted elements: Smoke PNG can be used to cover up unwanted elements in a photo. Such as an unsightly background or distracting objects.
- To enhance creativity: Smoke PNG can be used as a creative tool to add unique elements to a photo. Making it stand out and more memorable.
Overall, smoke PNG can be a useful tool for photographers and designers to enhance their images and add creative elements.
What is Smoke Png?
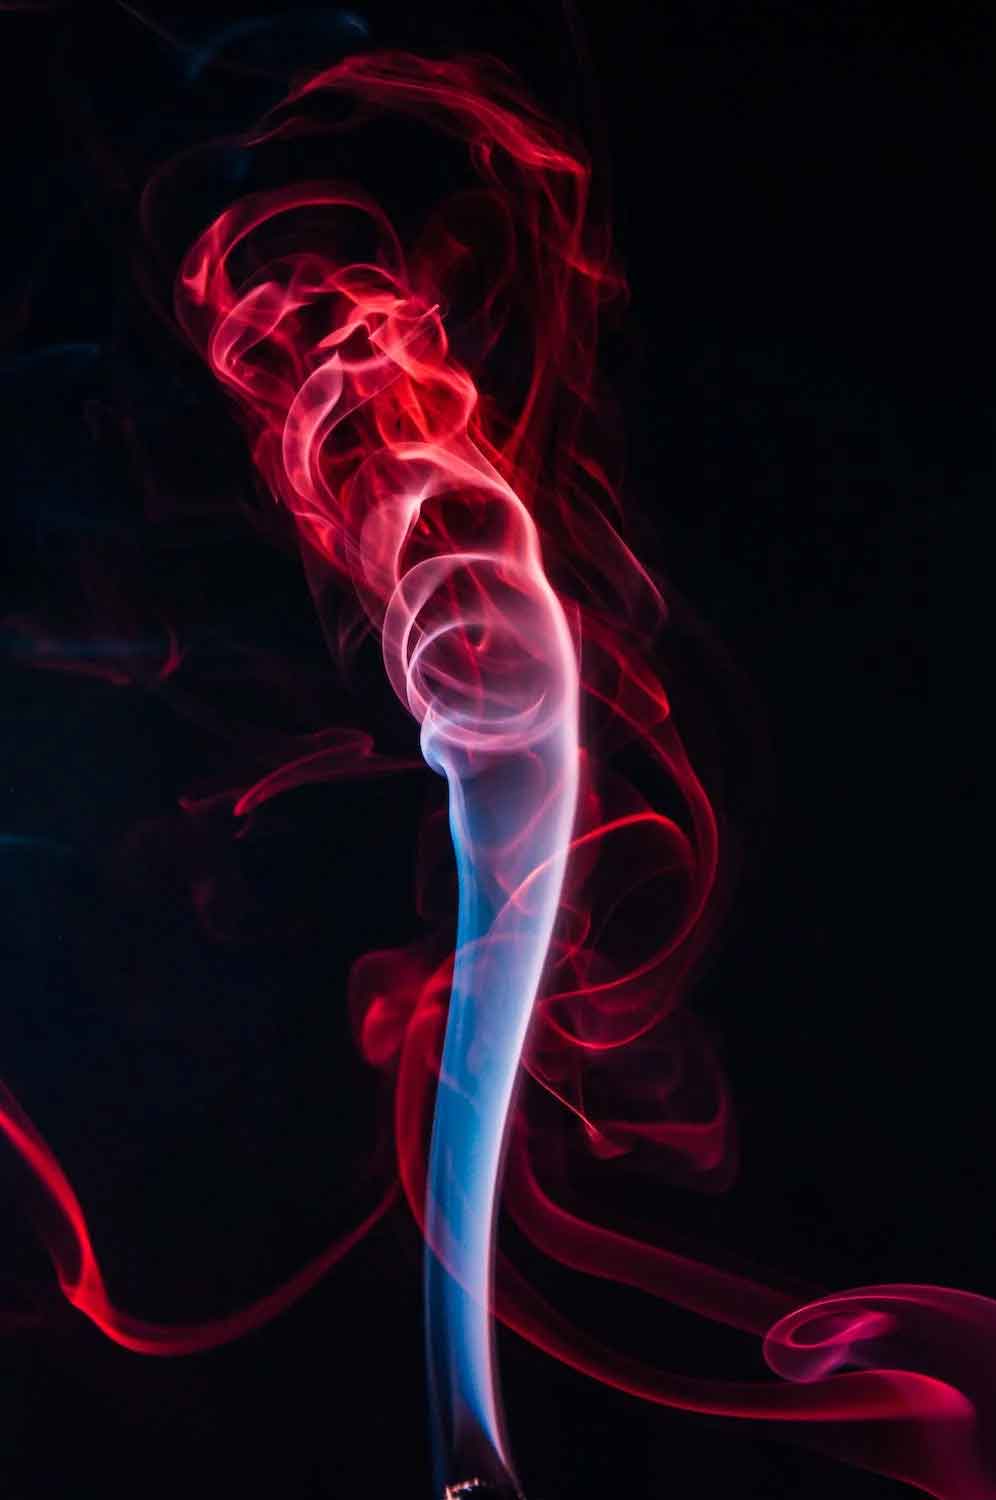
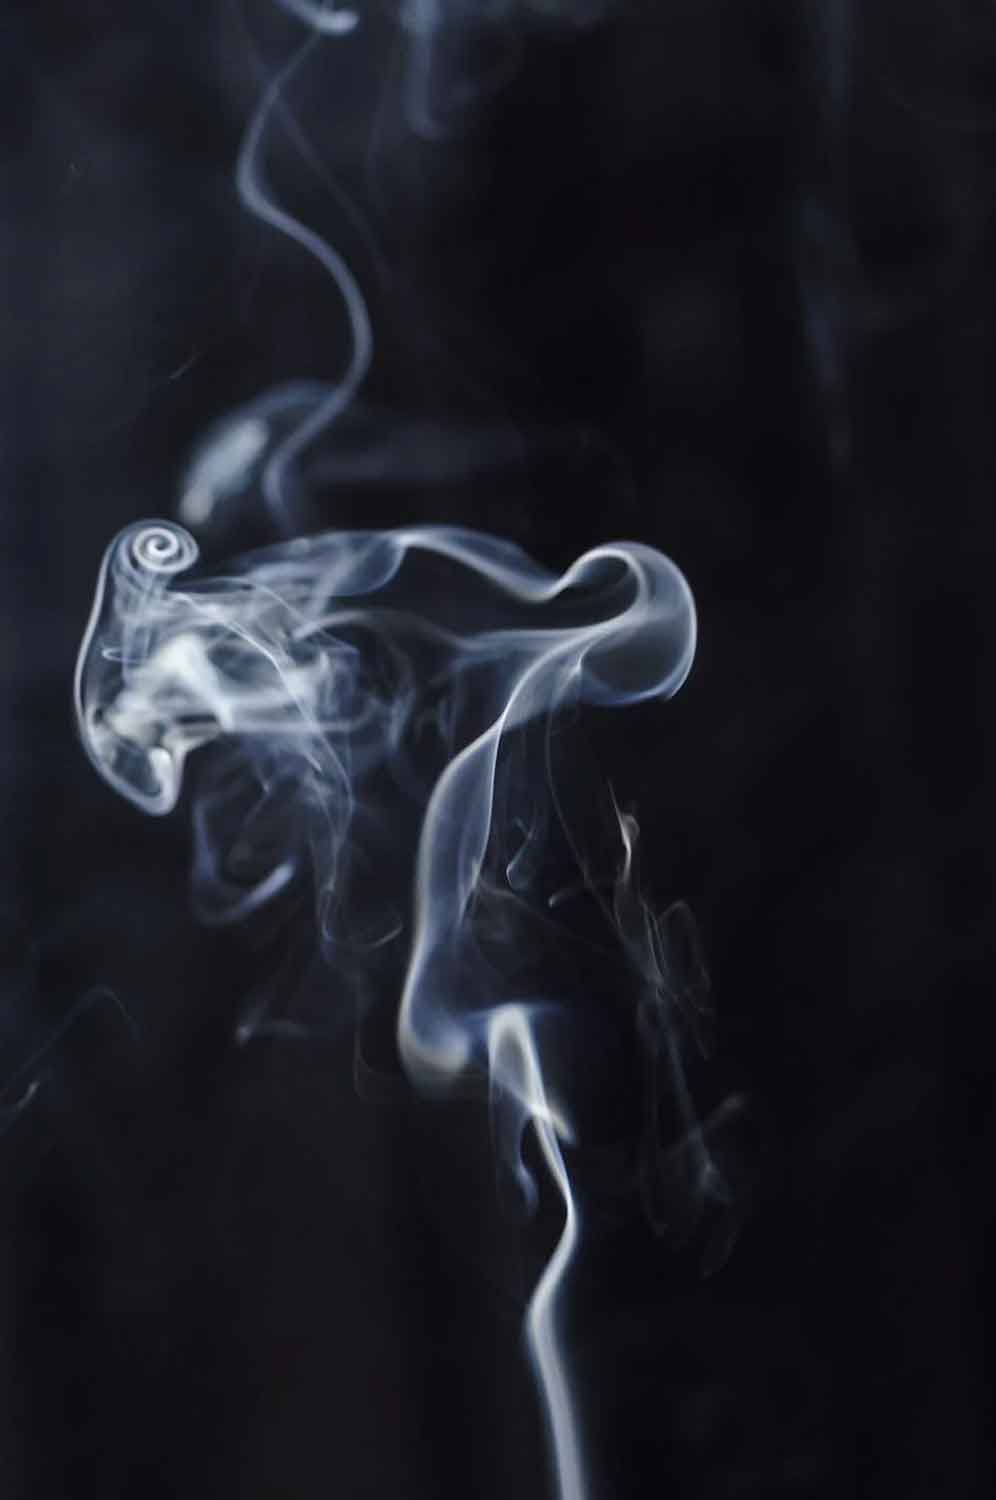
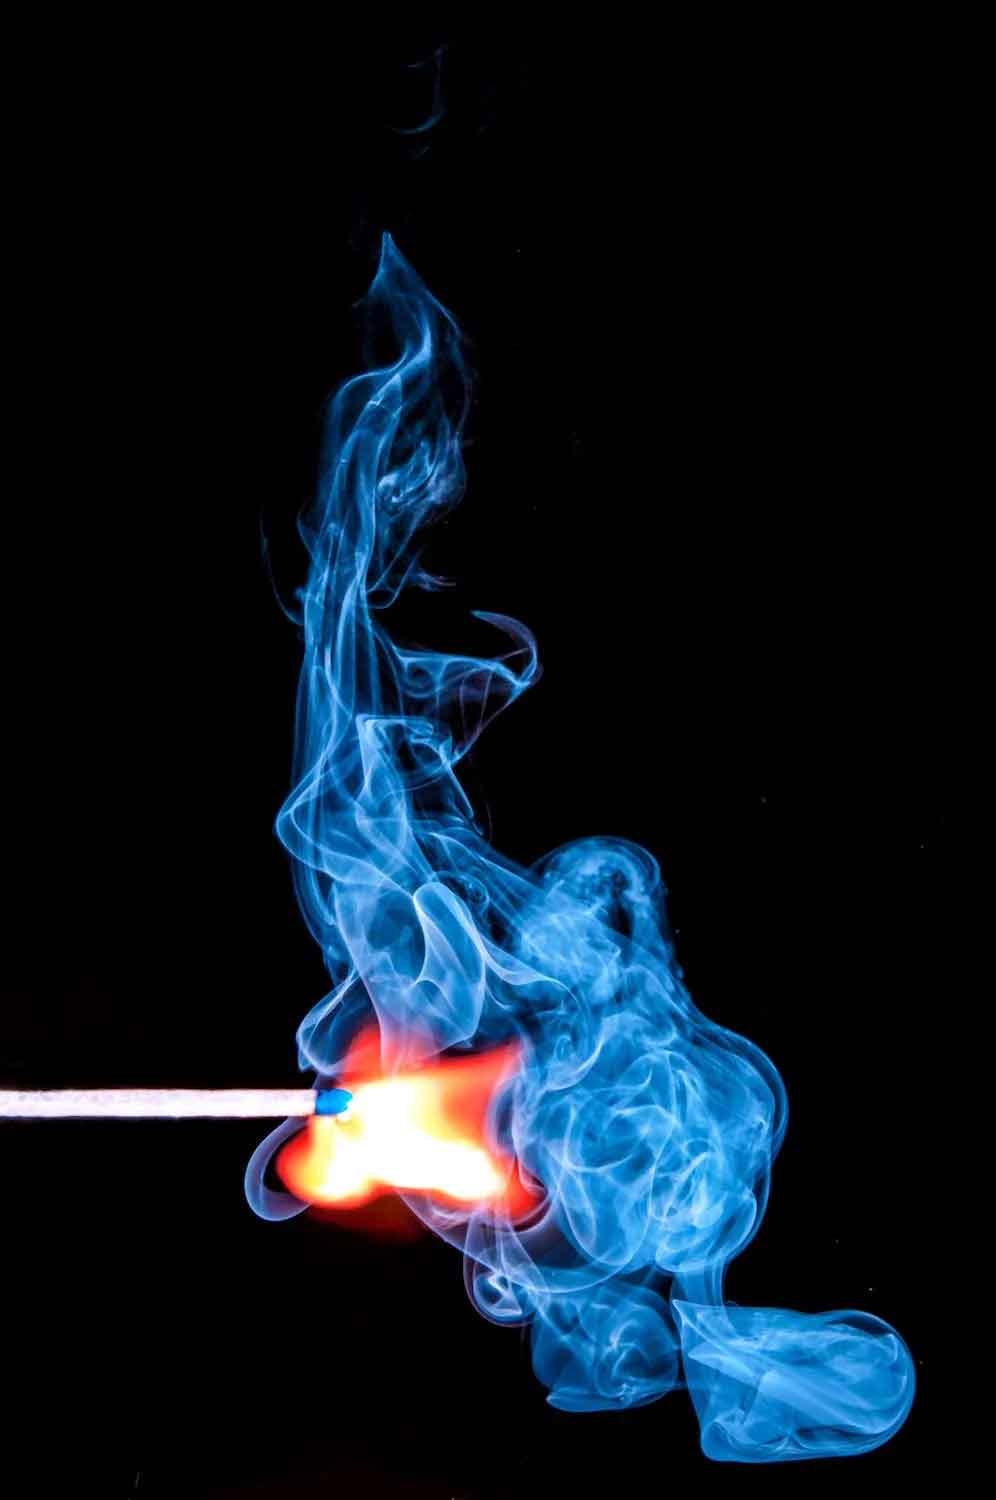
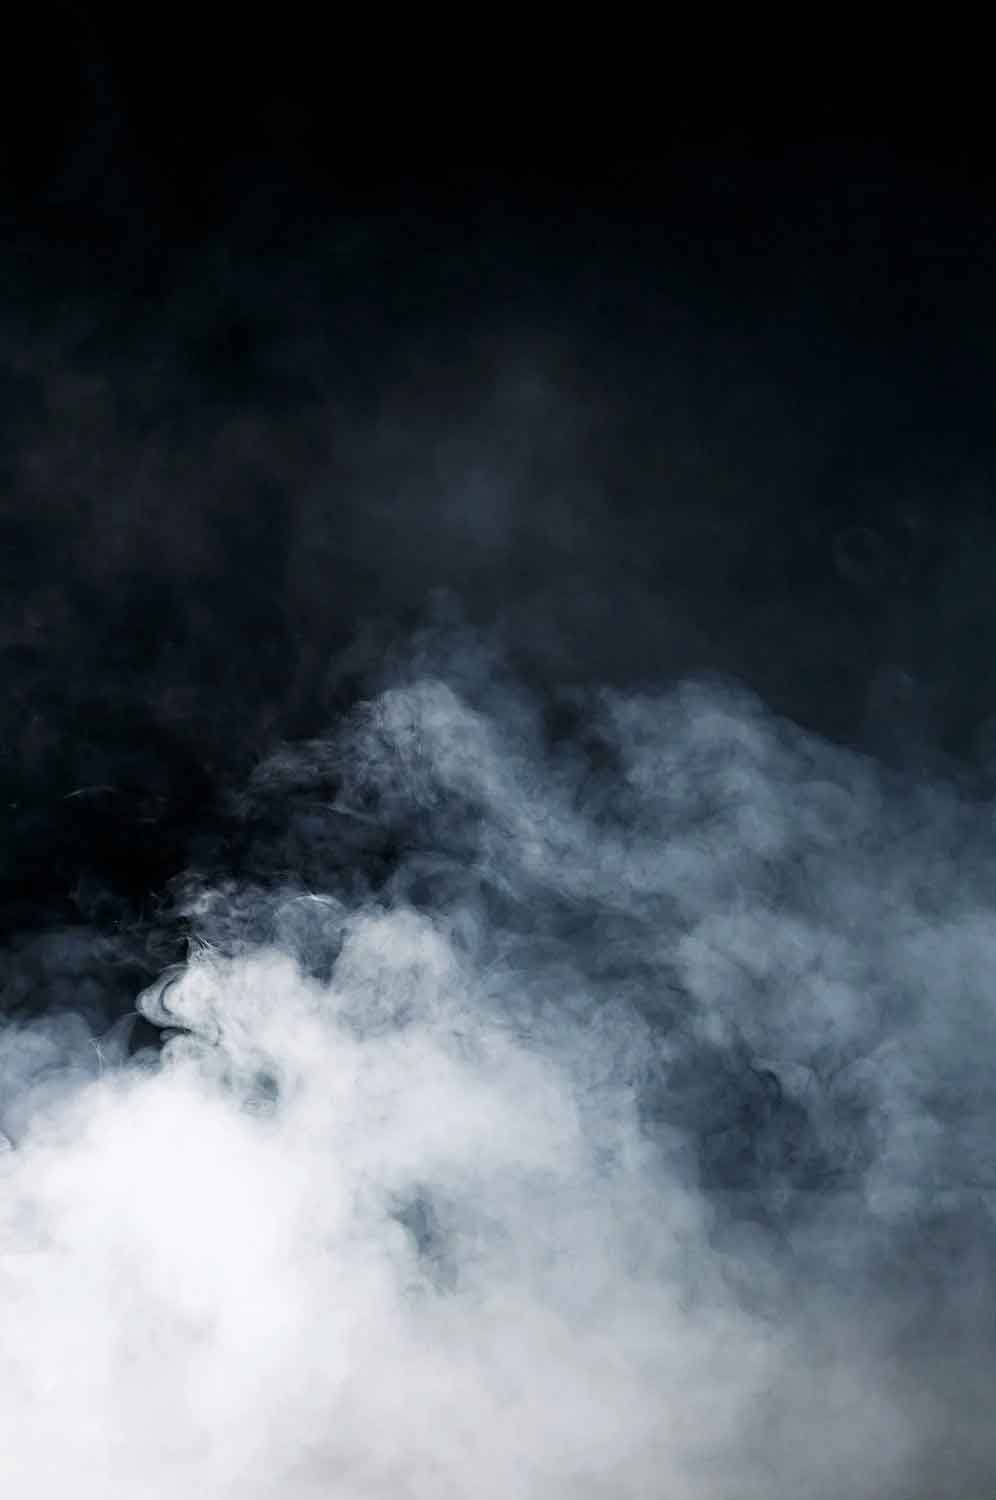
Smoke PNG is a type of image file that contains a transparent background. It shows only the smoke or fog in the image.
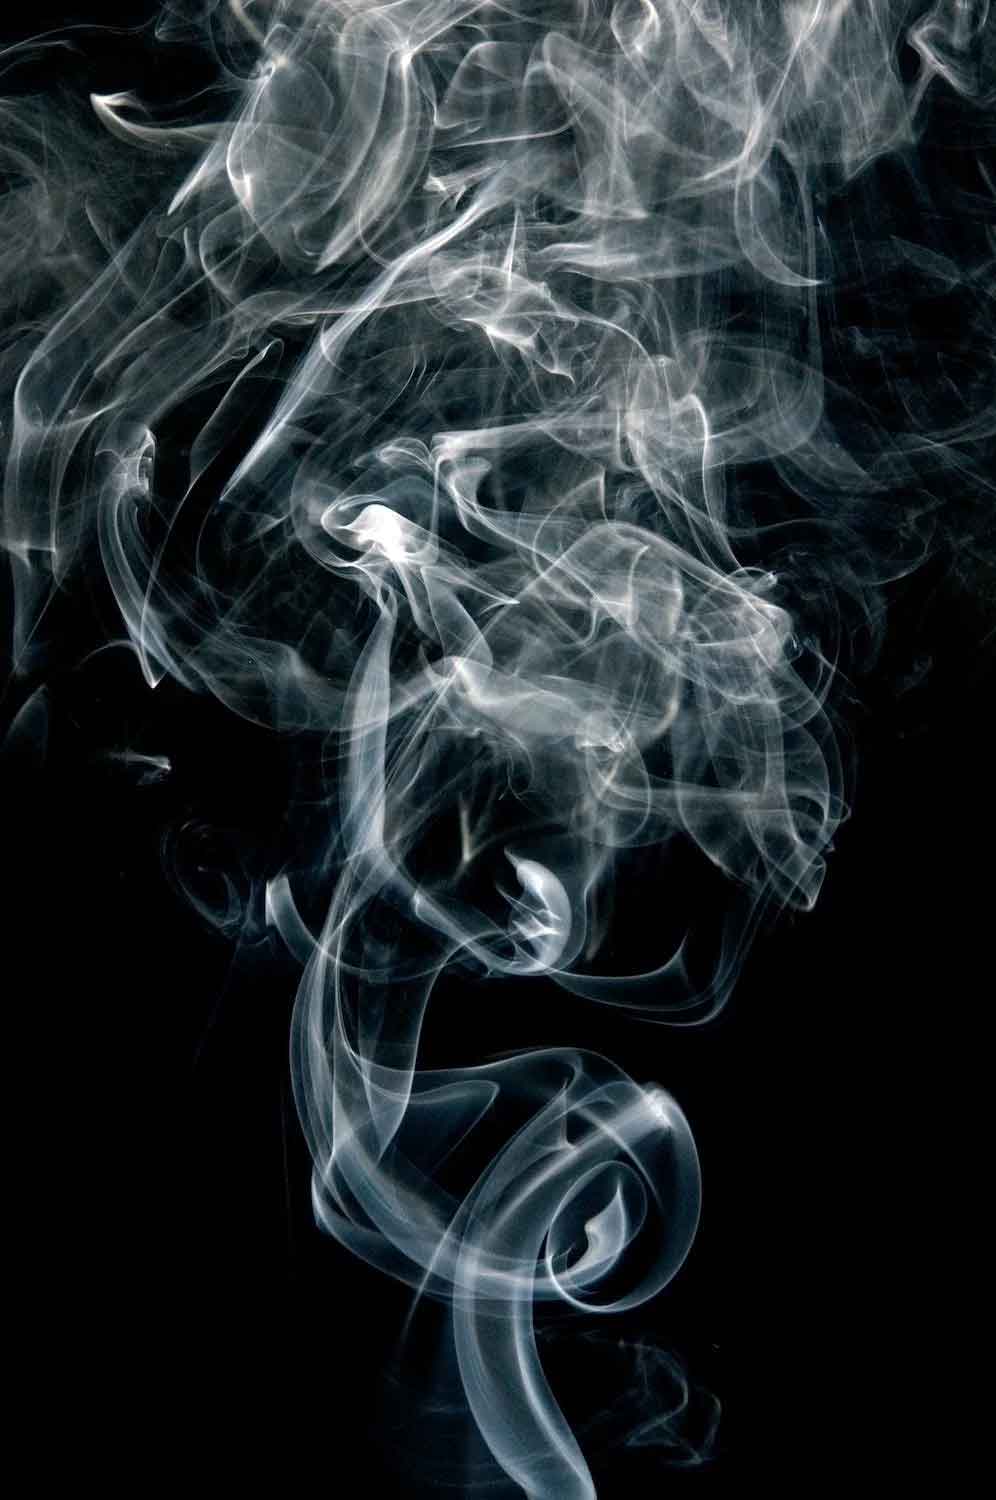
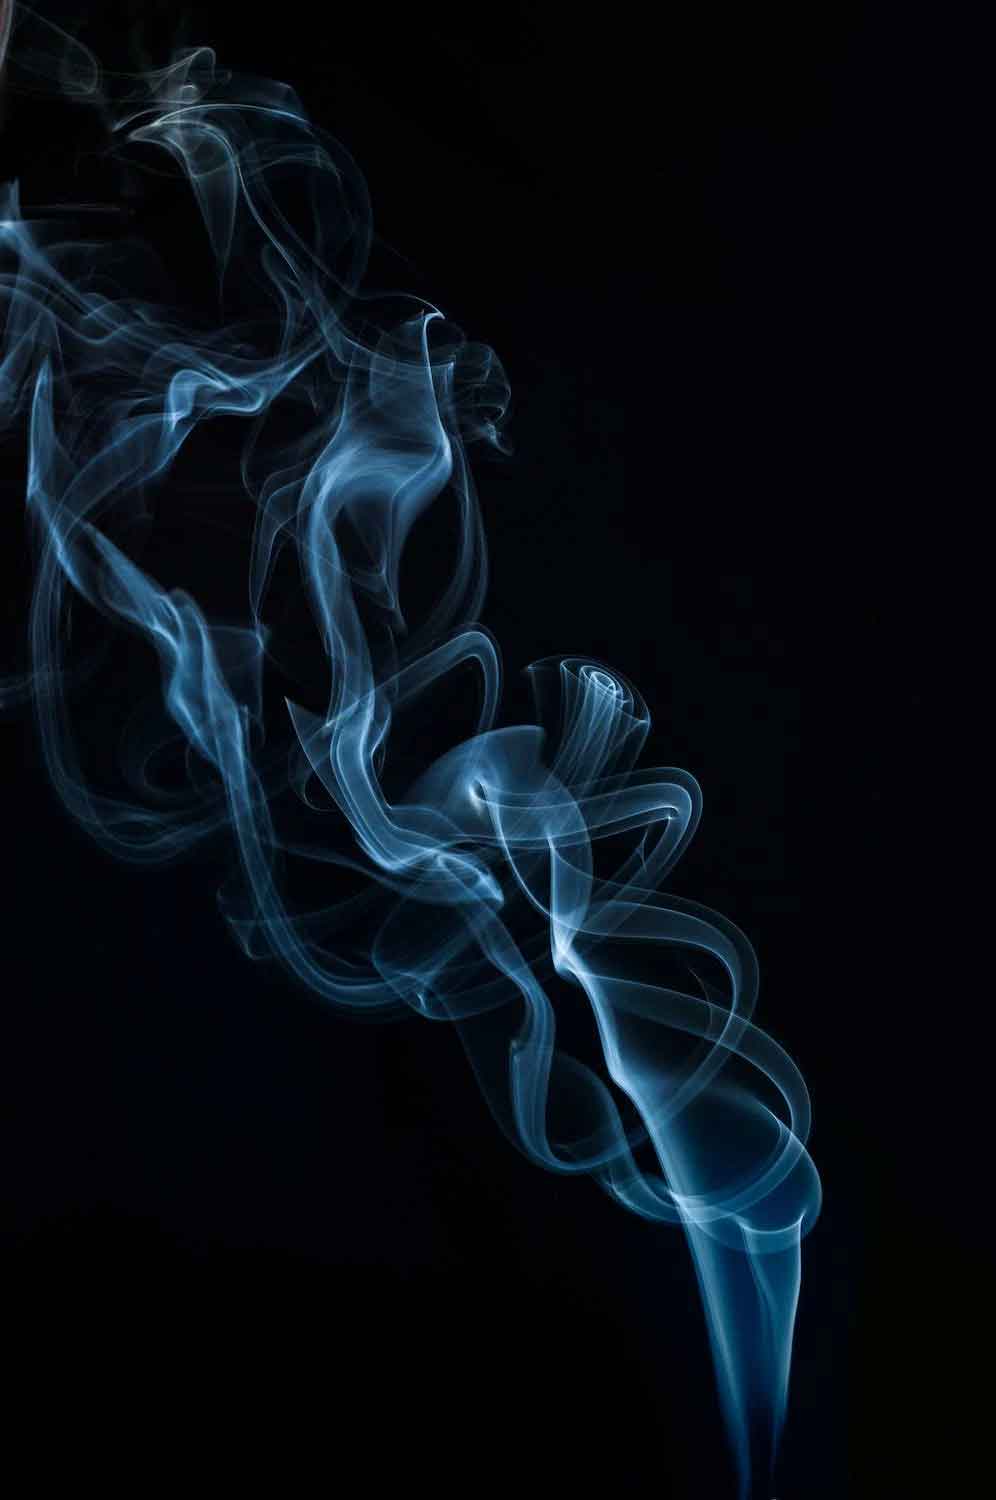

These PNG files are commonly used in photo editing software like Picsart to create unique and creative effects in photos and designs.
Smoke PNG files can be of different colours and shapes, and they allow users to add smoke to their images without having to create them from scratch.
How Smoke Png is used in Picsart Photo Editing
Smoke PNG files are used in Picsart Photo Editing to add smoke or fog effects to images. These effects can help to create a dramatic or mysterious atmosphere in a photo. For example, a user may use smoke PNGs to create a misty forest or foggy cityscape.
Smoke PNGs can also be used to add a surreal or artistic touch to a photo. In Picsart, users can add smoke PNGs as layers on top of their images and use various tools to adjust the size, position, and transparency of the smoke. By using smoke PNGs creatively, users can enhance their editing skills and create unique and visually appealing images.
Step by step guide to using smoke png in Picsart
Here’s a step-by-step guide to using smoke PNG in Picsart:
- Open the Picsart app on your device and select the photo you want to edit.
- Tap on the “Add Photo” icon in the bottom left corner of the screen.
- Select the smoke PNG file you want to add to your photo from your device’s file manager.
- This will be added to your photo as a separate layer. You can resize, rotate, and position the smoke using the touch controls on the screen.
- You can also adjust the transparency of the smoke layer by tapping on the “Layers” icon and selecting the smoke layer.
- Once you are satisfied with the position and transparency of the smoke. Tap on the “Apply” button to merge the smoke layer with your photo.
- You can further enhance the smoke effect by using the “Effects” and “Adjust” tools in Picsart.
- Finally, save your edited photo by tapping on the “Save” button in the top right corner of the screen.
That’s it! With these simple steps, you can add smoke PNG to your photos and create unique and visually stunning effects in Picsart.
Smoke PNG is used in Picsart photo editing to add smoke or fog effects to images. These effects can help to create a dramatic or mysterious atmosphere in a photo. For example, a user may use smoke PNGs to create a misty forest or foggy cityscape. Smoke PNGs can also be used to add a surreal or artistic touch to a photo.